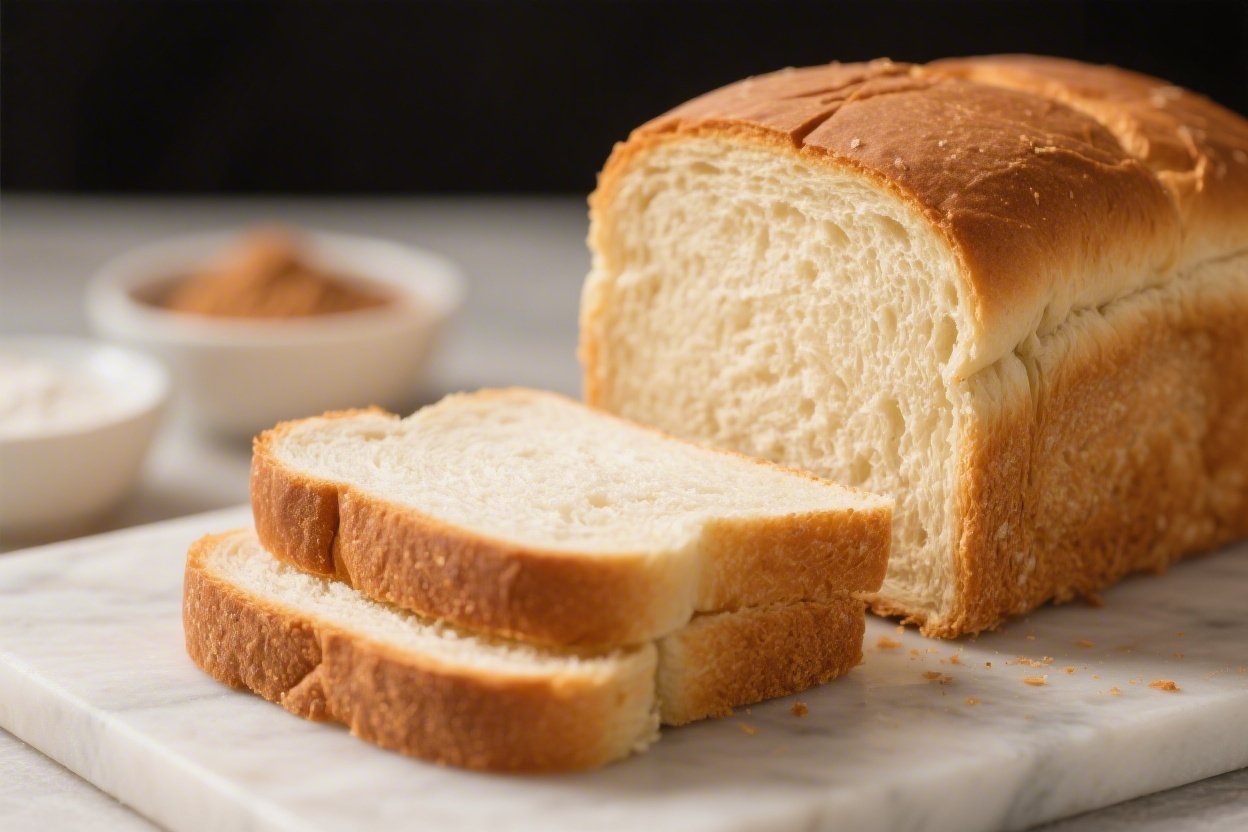

Homemade sandwich bread is one of those simple pleasures that makes every meal better. Warm from the oven, it’s soft, light, and slices like a dream. Whether you’re making toast, grilled cheese, or a classic turkey sandwich, this loaf delivers.
You don’t need special equipment or expert skills—just a few pantry staples and a little patience. Once you try it, store-bought bread won’t stand a chance.

What Makes This Recipe So Good
- Soft and fluffy crumb: This loaf rises tall and bakes up with a tender, pillow-like interior that stays moist for days.
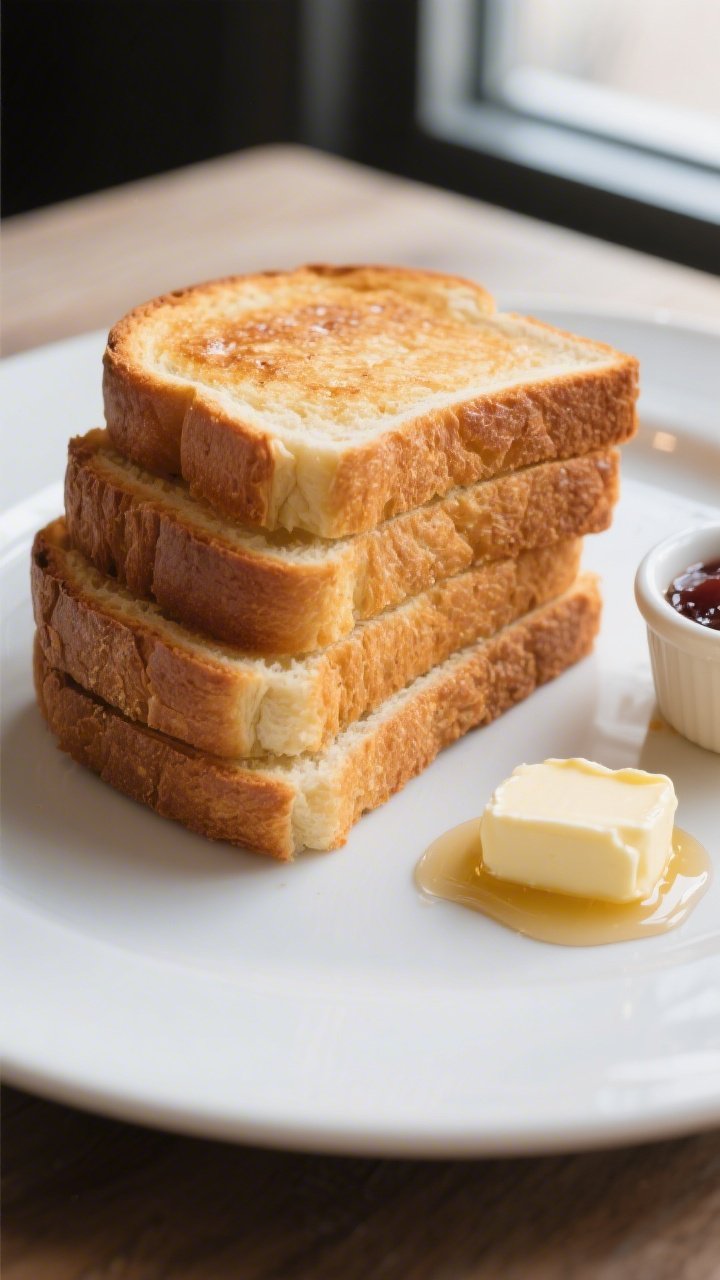
- Perfect for toasting: The lightly enriched dough browns beautifully and creates crisp, golden toast with a soft center.
- Beginner-friendly: Straightforward steps, no tricky techniques, and uses common ingredients you already have.
- Versatile: Great for sandwiches, French toast, croutons, or simple buttered slices with jam.
- Freezer-friendly: Make one for now and one for later; it freezes and thaws well without losing texture.
Shopping List
- Bread flour (or all-purpose flour, see notes below)
- Water (warm, about 105–110°F/40–43°C)
- Milk (whole or 2%, warmed slightly)
- Active dry yeast (or instant yeast)
- Granulated sugar (or honey)
- Salt
- Unsalted butter (softened; oil works in a pinch)
- Optional: Egg for an egg wash, melted butter for brushing the crust
How to Make It
- Activate the yeast: In a large bowl, mix 1 cup warm water with 2 teaspoons sugar. Sprinkle 2¼ teaspoons active dry yeast (one packet) over the top.
Let it sit for 5–10 minutes until foamy. If using instant yeast, you can skip blooming and add it directly with the flour, but keep the liquids warm.
- Combine wet ingredients: Stir in ½ cup warm milk and 2 tablespoons softened butter until the butter is mostly melted or evenly dispersed.
- Add dry ingredients: Add 3 cups bread flour and 1½ teaspoons salt. Mix with a spoon until a shaggy dough forms.
If it’s very sticky, sprinkle in 2–4 more tablespoons flour, a little at a time.
- Knead the dough: Turn onto a lightly floured surface and knead for 8–10 minutes, or use a stand mixer with a dough hook for 6–8 minutes on medium-low. The dough should become smooth, springy, and slightly tacky but not clingy. Tip: If it sticks badly, dust lightly with flour; if it feels stiff, wet your hands and knead the moisture in.
- First rise: Shape into a ball and place in a lightly oiled bowl, turning once to coat. Cover with a clean towel or plastic wrap.
Let rise in a warm spot until doubled, about 60–90 minutes.
- Shape the loaf: Gently deflate the dough and pat into a rectangle roughly 8×12 inches. Tightly roll it up from the short end, pinching the seam closed. Tuck the ends under for a neat shape.
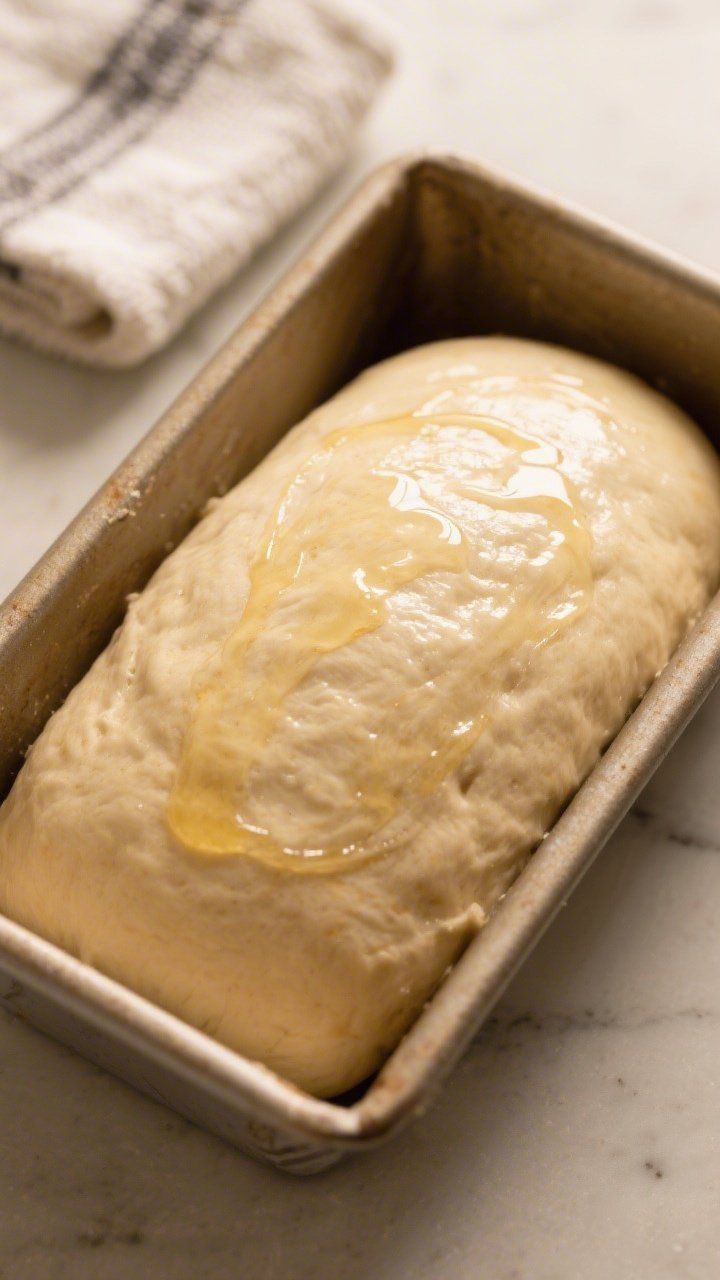
- Pan and second rise: Place the loaf seam-side down in a greased 8½x4½-inch or 9×5-inch loaf pan.
Cover and let rise until the dome is about 1 inch above the rim, 35–60 minutes depending on room temperature.
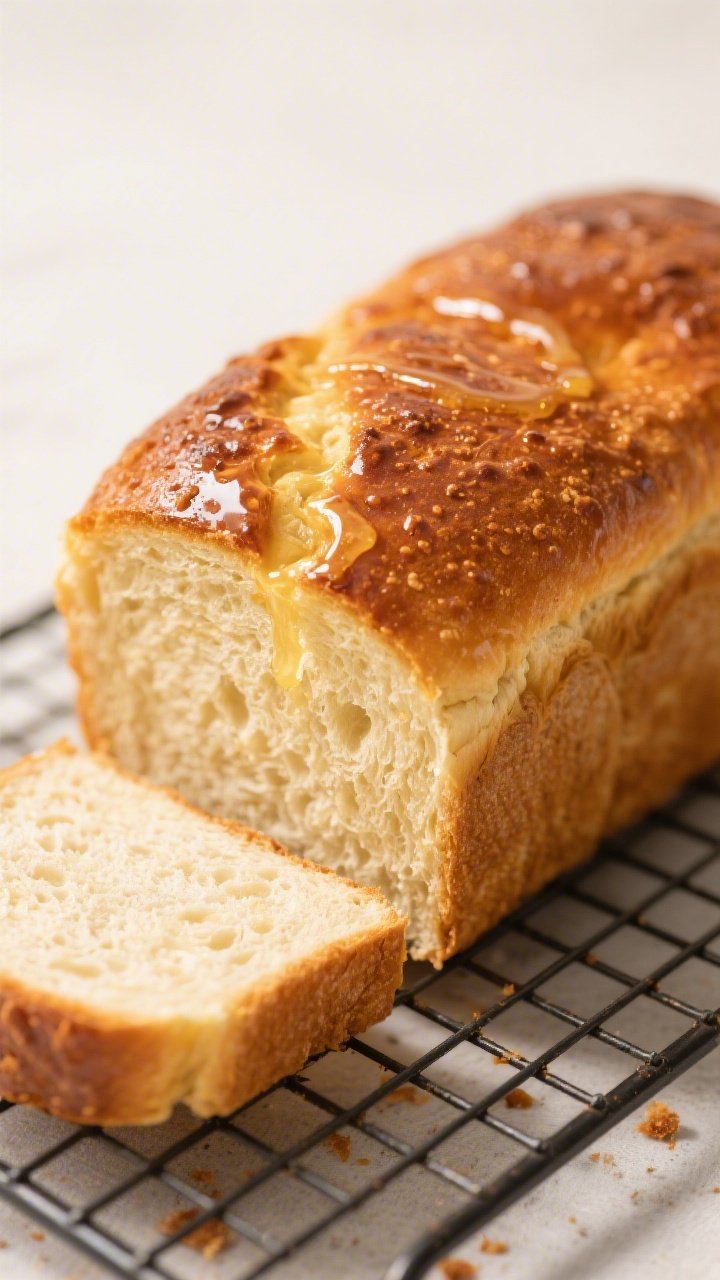
- Preheat and optional wash: Preheat oven to 350°F (175°C). For a shiny crust, brush the top with a beaten egg; for a softer crust, wait and brush with melted butter after baking.
- Bake: Bake 30–35 minutes, until the top is deep golden and the loaf sounds hollow when tapped. An instant-read thermometer inserted in the center should read 190–195°F (88–90°C).
- Cool properly: Let the loaf cool in the pan for 10 minutes.
Turn it out onto a wire rack and cool completely—at least 1 hour—before slicing. This keeps the crumb from squashing or turning gummy.
Storage Instructions
- Room temperature: Store in a bread box or wrapped in a clean towel inside a loose plastic bag for 3–4 days. Avoid the fridge, which dries bread out.
- Freezer: Slice, wrap tightly in plastic, then place in a freezer bag. Freeze up to 3 months.
Toast or thaw at room temperature as needed.
- Refresh: Day-old bread toasts beautifully. For a soft refresh, warm slices in a 300°F (150°C) oven for 8–10 minutes.
Why This is Good for You
- Simple ingredients: You control the list—no preservatives, conditioners, or extra sugar.
- Balanced carbs: Homemade bread offers steady energy, especially when paired with protein and healthy fats.
- Customizable nutrition: Swap in some whole wheat, add seeds, or use milk for extra protein and calcium.
- Mindful eating: Baking from scratch helps you appreciate portions and ingredients, which can support healthier habits.
Common Mistakes to Avoid
- Water too hot: Liquids above 120°F (49°C) can kill yeast. Aim for warm, not hot—about 105–110°F (40–43°C).
- Too much flour: Over-flouring makes dense bread.
The dough should feel slightly tacky. Add flour gradually and stop when it just stops sticking.
- Under-kneading or over-kneading: Under-kneaded dough tears easily; over-kneaded can feel tough. Look for a smooth, elastic dough that springs back.
- Rushing the rise: If it hasn’t doubled, wait.
Under-proofed dough won’t bake up light and tall.
- Slicing too soon: Cutting hot bread releases steam and compresses the crumb. Cool at least 60 minutes.
Variations You Can Try
- Half whole wheat: Use 1½ cups whole wheat flour and 1½ cups bread flour. Add 1 extra tablespoon honey and 1–2 tablespoons milk if needed for softness.
- Honey oat: Replace sugar with 2 tablespoons honey.
Knead in ¼ cup quick oats and sprinkle oats on top after an egg wash.
- Garlic herb: Mix in 1–2 teaspoons Italian seasoning and 1 teaspoon garlic powder. Brush baked loaf with garlic butter.
- Seeded sandwich loaf: Add 2–3 tablespoons mixed seeds (sesame, poppy, sunflower) to the dough and sprinkle more on top before baking.
- Dairy-free: Use water instead of milk and oil instead of butter. The loaf will still be soft and toasts well.
FAQ
Can I use all-purpose flour instead of bread flour?
Yes.
All-purpose flour works well, though the crumb may be slightly less chewy. If the dough feels slack, add a tablespoon or two more flour during kneading.
What if I only have instant yeast?
Use the same amount. Skip blooming and mix instant yeast with the flour and salt.
Keep the liquid warm as directed and proceed as usual.
How do I know when the dough has risen enough?
It should roughly double in size. Press a floured fingertip into the dough; if the indentation springs back slowly and not completely, it’s ready. If it snaps back quickly, give it more time.
Why did my bread sink after baking?
It was likely over-proofed or under-baked.
Next time, bake until the center reaches 190–195°F and avoid letting the second rise go much higher than 1 inch above the pan.
How do I get even slices?
Let the loaf cool fully, then use a long serrated bread knife with light sawing motions. For very neat slices, chill the cooled loaf in the fridge for 30 minutes before cutting.
Can I make this without a stand mixer?
Absolutely. Hand-kneading works great.
Use a bench scraper to help fold and turn the dough, and dust with flour sparingly.
How can I make the crust softer?
Brush the hot loaf with melted butter right after baking and let it cool under a clean towel. Storing in a bread bag also keeps the crust tender.
Can I double the recipe?
Yes. Make two loaves and bake side by side, rotating the pans halfway through for even browning.
Rising times may be slightly longer with cooler dough.
What size pan should I use?
An 8½x4½-inch pan gives a taller, more domed loaf; a 9×5-inch pan yields a slightly wider, lower loaf. Both work well for sandwiches.
Is this good for French toast?
It’s excellent. The crumb is sturdy yet soft, so it soaks up custard without falling apart and browns evenly in the pan.
Final Thoughts
This simple sandwich bread delivers dependable results with a soft crumb and a golden, toasty crust.
It’s easy enough for a weekday and special enough for a weekend brunch. Once you learn the feel of the dough and the timing of the rises, you can make it your own with herbs, seeds, or whole grains. Bake a loaf, slice it thick, and enjoy the kind of bread you’ll want to keep on the counter all week.
Printable Recipe Card
Want just the essential recipe details without scrolling through the article? Get our printable recipe card with just the ingredients and instructions.