
If you’ve ever wished your homemade pizza could taste like your favorite pizzeria’s, this dough is your answer. It bakes up with a chewy interior, a crisp, blistered edge, and a sturdy base that won’t sag under toppings. You don’t need special equipment—just a bowl, your hands, and a little patience.
The flavor comes from a slow rise, which develops that classic pizzeria tang. Make it once, and you’ll never look at delivery the same way again.

What Makes This Recipe So Good

- Chewy and crispy balance: High hydration and a touch of olive oil create a tender crumb with a golden, crackly edge.
- Foolproof texture: Bread flour gives structure and chew, while a long, cold ferment boosts flavor and oven spring.
- Flexible timing: Make it same-day or let it rest up to 72 hours for even better flavor.
- Works in any oven: Great results with a baking steel, stone, or an upside-down sheet pan.
- Freezer-friendly: Portion and freeze for easy, last-minute pizza nights.
Ingredients
- 4 cups (500 g) bread flour (see variations for all-purpose)
- 1 1/2 cups (360 ml) warm water (about 105–110°F / 40–43°C)
- 2 teaspoons (7 g) fine sea salt
- 1 teaspoon (3 g) sugar (helps activate yeast and browning)
- 2 teaspoons (7 g) instant yeast (or 2 1/4 tsp active dry, see notes)
- 2 tablespoons (25 g) extra-virgin olive oil
- Cornmeal or semolina for dusting (optional, prevents sticking)
Instructions
- Mix the dough: In a large bowl, whisk flour, salt, sugar, and instant yeast. Add warm water and olive oil.
Stir with a spoon until a shaggy dough forms and no dry flour remains.
- Knead briefly: Turn dough onto a lightly floured surface. Knead 5–7 minutes until smooth and elastic. The dough will be slightly tacky but not sticky.
If it’s very sticky, add 1–2 tablespoons of flour, a little at a time.
- First rise: Shape into a ball and place in a lightly oiled bowl. Cover tightly and let rise at room temperature until doubled, 60–90 minutes.
- Cold ferment (flavor booster): For the best taste and texture, punch down gently, divide into 2 or 3 equal balls (for 12–14 inch pizzas), oil lightly, and place in covered containers. Refrigerate 12–72 hours.
The longer it rests, the more complex the flavor.
- Warm up the dough: Remove dough from the fridge 60–90 minutes before baking to take off the chill. Room-temperature dough stretches more easily and puffs better in the oven.
- Preheat the oven: Place a baking steel or stone on the middle rack and heat the oven to 500–550°F (260–290°C) for at least 30–45 minutes. If you don’t have a stone, preheat an upside-down sheet pan.
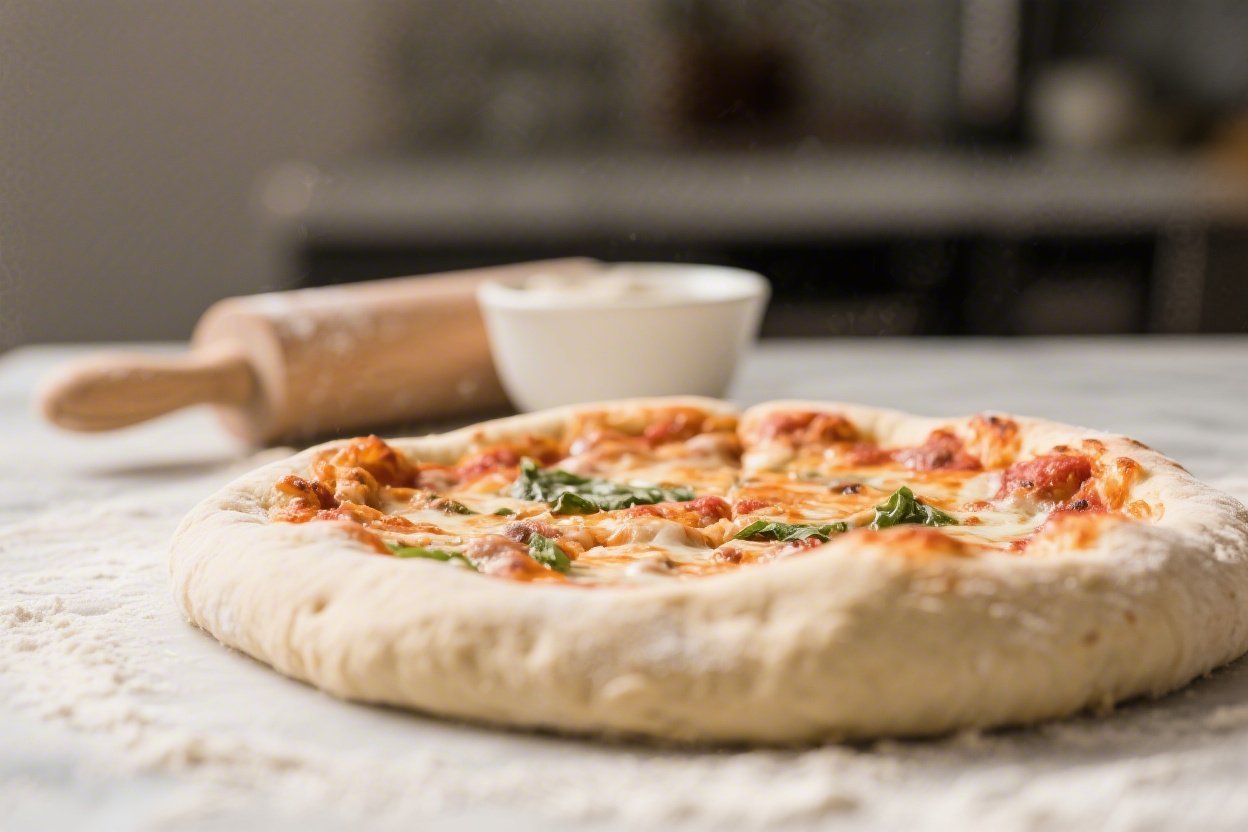
- Shape the crust: Lightly flour your counter.
Gently press each dough ball into a round, keeping a thicker rim. Lift and stretch the edges while rotating, letting gravity help. Avoid using a rolling pin, which can press out the air pockets.
- Top wisely: Place the dough on a lightly floured peel or parchment.
Add a thin layer of sauce, a modest amount of cheese, and your toppings. Less is more—this keeps the crust crisp.
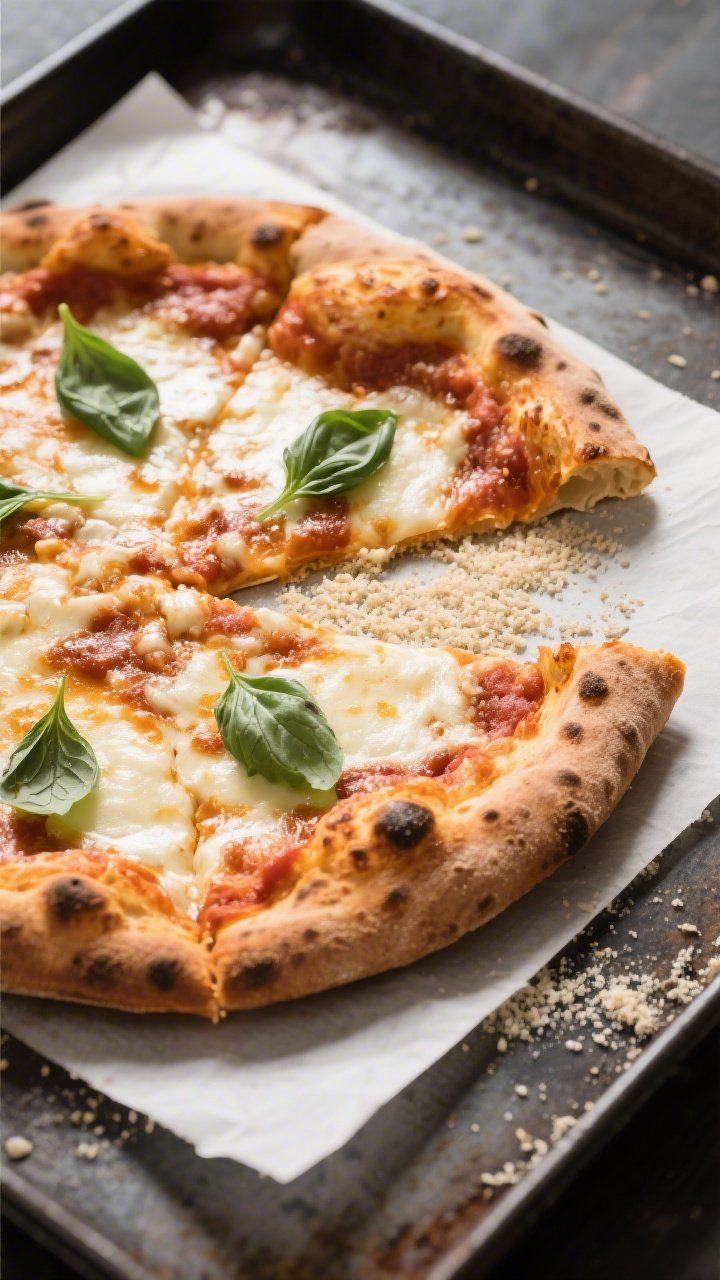
- Bake: Slide onto the hot stone/steel or place the parchment on the sheet pan. Bake 7–10 minutes, until the crust is deeply golden with charred spots and the cheese is bubbling.
Rotate once for even browning if needed.
- Finish and serve: Brush the crust with a little olive oil and sprinkle with flaky salt or fresh basil if you like. Let rest 1–2 minutes, slice, and enjoy.
Storage Instructions
- Fridge: Dough balls keep 3 days in the refrigerator. Coat lightly in oil and store in covered containers.
Bring to room temperature before shaping.
- Freezer: After the first rise, portion, oil, and freeze up to 3 months in zip-top bags. Thaw overnight in the fridge, then rest at room temperature 60–90 minutes before baking.
- Leftover baked pizza: Store slices in an airtight container up to 3 days. Reheat on a skillet over medium heat with a lid for 3–5 minutes or in a 450°F (230°C) oven for 5–7 minutes.

Benefits of This Recipe
- Restaurant-quality flavor: The cold ferment develops subtle tang and a complex aroma.
- Great texture every time: Bread flour and proper hydration keep the crust airy, chewy, and crisp at the edges.
- Make-ahead friendly: Prepare on your schedule and bake when you’re ready.
- Customizable: Works for thin-crust, New York-style rounds, or thicker pan pies.
- Budget-friendly: Simple pantry ingredients beat delivery on price and quality.
What Not to Do
- Don’t overload with toppings: Too much sauce or cheese weighs down the crust and makes it soggy.
- Don’t skip the preheat: A blazing-hot surface is key to oven spring and a crisp bottom.
- Don’t roll with a pin: You’ll press out air pockets that create that light, bubbly rim.
- Don’t rush the dough: Cold fermentation is optional, but even a few extra hours in the fridge improves flavor and texture.
- Don’t shape cold dough: It will snap back and tear.
Let it warm up first.
Recipe Variations
- All-purpose flour version: Swap bread flour 1:1 with AP. Expect a slightly softer, less chewy crust. Keep hydration the same.
- Neapolitan-ish: Use 00 flour for a tender bite and blistered cornicione.
Hydration can stay similar; bake as hot as your oven allows.
- Garlic-herb crust: Add 1 teaspoon garlic powder and 2 teaspoons dried Italian herbs to the dry ingredients.
- Whole wheat blend: Replace up to 25% of the flour with whole wheat. Add 1–2 tablespoons extra water if the dough feels tight.
- Sourdough twist: Replace 1/2 cup (120 g) water and 1 cup (120 g) flour with 1 cup (240 g) active starter. Reduce yeast to 1/2 teaspoon and extend the cold ferment to 24–72 hours.
- Pan pizza: Oil a cast-iron skillet or metal pan generously.
Press dough to fit, proof 30–60 minutes, top, and bake at 500°F (260°C) until the edges are crisp and frico-like.
FAQ
Can I use active dry yeast instead of instant?
Yes. Use the same amount by weight. Bloom it first in the warm water with the sugar for 5–10 minutes until foamy, then mix with the dry ingredients and olive oil.
Why is my dough tearing when I stretch it?
It’s likely too cold or under-rested.
Let it sit covered for another 15–20 minutes and try again. If it’s still tight, give it a gentle fold and rest longer.
How do I prevent a soggy center?
Use less sauce and cheese, preheat your stone or pan thoroughly, and bake on the lowest or middle rack. Moist toppings like mushrooms benefit from a quick sauté to release water.
What if I don’t have a pizza stone or steel?
Preheat an upside-down sheet pan for at least 20 minutes at 500°F (260°C).
Build your pizza on parchment and slide it onto the hot pan for a surprisingly crisp bottom.
How big does this recipe make?
It makes two large 12–14 inch pizzas with a classic New York-style thin center and puffy rim, or three smaller 10–12 inch pies. Divide the dough accordingly.
Can I par-bake the crust?
You can. Bake the shaped, untopped dough for 3–4 minutes, just until set.
Cool slightly, then add toppings and finish baking. This helps with heavy or saucy toppings.
How do I get leopard spots on the crust?
Use a super-hot surface, avoid over-hydrating with too much sauce, and don’t overwork the dough. A longer cold ferment also helps with blistering.
Is sugar necessary?
A small amount helps jump-start yeast activity and improves browning, especially in home ovens.
You can omit it, but your crust may be paler.
Can I make this gluten-free?
Use a high-quality 1:1 gluten-free flour blend designed for yeast breads and add 1 teaspoon xanthan gum if the blend lacks it. Expect a different texture, but good results are possible.
What sauce and cheese work best?
Crushed San Marzano-style tomatoes with a pinch of salt make a bright, simple sauce. For cheese, use low-moisture mozzarella for melt and boccocini or fresh mozzarella in small pieces for creaminess.
Final Thoughts
This pizza dough hits that sweet spot of chewy, crispy, and full of character.
With a good preheat and a little rest time, you’ll pull a pie from your oven that rivals your favorite delivery spot. Keep a few dough balls in the fridge or freezer, and pizza night becomes fast, fun, and reliably delicious. Once you taste the difference, you’ll want to make this your go-to base for every style of pizza you love.
Printable Recipe Card
Want just the essential recipe details without scrolling through the article? Get our printable recipe card with just the ingredients and instructions.