
Why You’ll Love this Creamy Homemade Milkshake
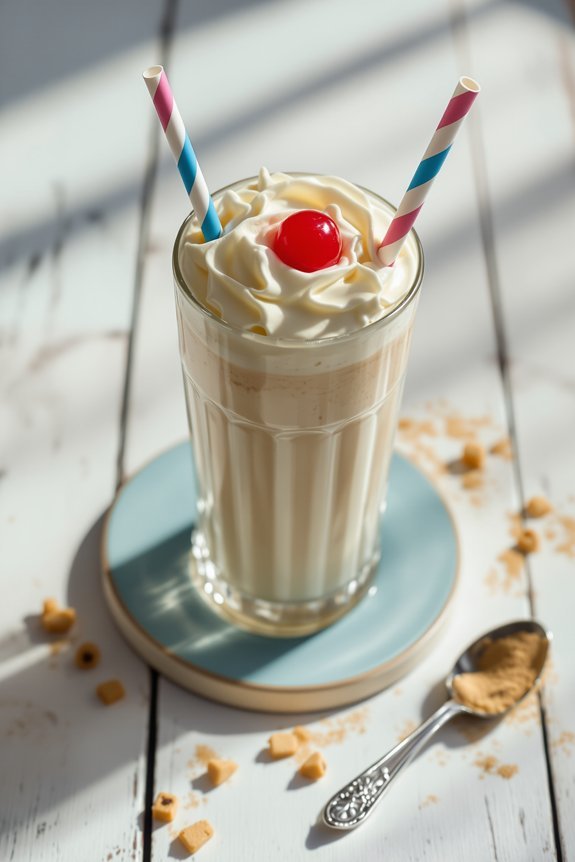
This homemade milkshake recipe is about to become your new favorite treat on hot summer days or whenever that sweet craving hits. I’m talking about creamy, dreamy goodness that takes just minutes to whip up right in your kitchen.
What makes it so lovable? It’s incredibly versatile—use any ice cream flavor you fancy. The texture is pure luxury, silky smooth with that perfect thickness that clings to your straw. And unlike store-bought versions, you control the sweetness and ingredients.
Best part? No fancy equipment needed, just a microwave and something to stir with. Simple pleasures, indeed.

What Ingredients are in Creamy Homemade Milkshake?
Making a homemade milkshake couldn’t be simpler when it comes to ingredients. That’s what I adore about this classic treat—you don’t need a shopping list longer than your arm or fancy additives to create something truly spectacular.
The beauty of this milkshake recipe lies in its simplicity, with just two main components that probably already live in your refrigerator and freezer right now.
- 1-2 cups of ice cream (any flavor you prefer)
- 1-2 cups of milk
The ratio of milk to ice cream is where the magic happens, and it’s completely customizable based on your preference. Want a thicker shake that’s nearly spoon-worthy? Go heavy on the ice cream and lighter on the milk. Craving something more sippable? Add a splash more milk.
The quality of your ingredients matters too—premium ice cream with higher butterfat content will give you a richer, creamier result. And while whole milk creates the most luxurious texture, you can absolutely use whatever milk you have on hand, from skim to oat milk for a dairy-free option.
The recipe is forgiving that way, making it perfect for spontaneous milkshake cravings or when you’re looking to use up that last bit of ice cream in the container.
How to Make this Creamy Homemade Milkshake

Making this dreamy milkshake is almost too easy—I sometimes wonder why I ever spent money on store-bought versions when the homemade approach is so much better. Start by scooping 1-2 cups of your favorite ice cream (chocolate chip cookie dough is my weakness, but who’s judging?) into a microwave-safe cup.
Now, here’s the trick that changes everything: microwave that ice cream for just about a minute. You’re looking for that sweet spot where it’s melted enough to blend smoothly but still cold enough to form the foundation of your milkshake. Not exactly rocket science, but getting this step right makes all the difference.
Once your ice cream has reached that perfect semi-melted state, pour it into the cup you plan to drink from. Add 1-2 cups of milk directly to the ice cream, adjusting the amount based on how thick you want your shake. Want something you can practically stand a spoon in? Go lighter on the milk. Prefer something you can actually sip through a straw without developing cheek muscles like a bodybuilder? Add a bit more milk.
The mixing technique matters here—stir quickly and vigorously to incorporate air into your milkshake, creating that frothy, whipped texture that makes homemade shakes superior to anything from a drive-thru. This fast mixing is what gives your milkshake that light, pillowy texture rather than ending up with what’s fundamentally just cold, liquified ice cream.
And just like that, you’re ready to enjoy your creation. No fancy blender needed, no complicated steps—just pure, creamy satisfaction in minutes.
The beauty of this method is in its simplicity and speed. While traditional recipes might’ve you hauling out the blender and creating a small mountain of dishes to wash afterward, this approach gives you all the flavor with minimal cleanup.
Could there be anything more satisfying than that first sip of a perfectly made milkshake that you whipped up in less time than it takes to find your car keys? I think not.
Creamy Homemade Milkshake Substitutions and Variations
Now that you’ve mastered the basic milkshake method, let’s explore the endless possibilities for customizing your creamy creation.
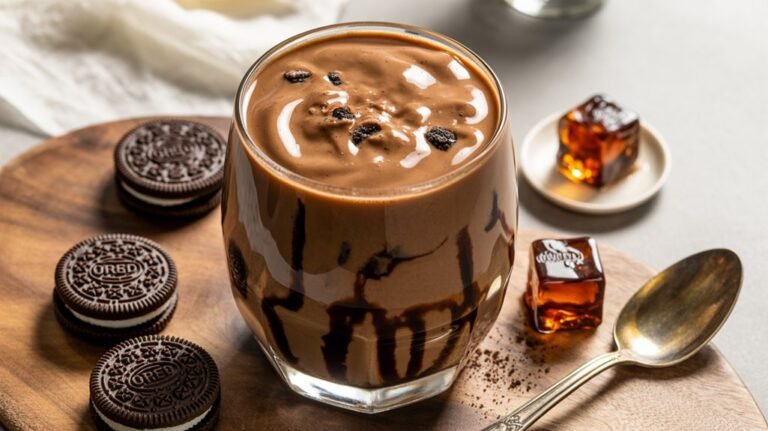
Don’t have vanilla ice cream? Any flavor works beautifully—chocolate, strawberry, mint chip, you name it.
For a dairy-free option, swap in coconut, almond, or oat milk, paired with your favorite non-dairy ice cream.
Need it thicker? Use less milk. Thinner? Add more.
Want to elevate your shake? Try adding mix-ins like cookie chunks, candy pieces, or fresh fruit.
A spoonful of peanut butter or chocolate syrup creates magic in your glass.
The combinations? Honestly, limitless.
What to Serve with Creamy Homemade Milkshake
While a milkshake can certainly stand on its own as a delightful treat, pairing it with complementary foods creates a more satisfying experience.
I’m partial to serving mine with crispy, salted French fries—that sweet-savory combo is practically legendary, don’t you think?
Classic burgers also make perfect partners, their hearty flavors balancing the milkshake’s sweetness.
For lighter options, try butter cookies or shortbread that can be dipped into your creamy creation.
Want something unexpected? A slice of warm apple pie alongside a vanilla shake creates dessert nirvana.
The temperature contrast? Absolutely divine.
Final Thoughts
The beauty of homemade milkshakes lies in their simplicity and endless possibilities. With just ice cream, milk, and a minute of your time, you can create a creamy treat that rivals any fancy café version.
Don’t you love how customizable they are?
I’m always amazed at how something so basic can bring such joy. The perfect milkshake is about balance—not too thick, not too thin.
Try different ice cream flavors, add a splash of vanilla extract, or toss in some mix-ins for texture.


")